COLLECTIONS
-
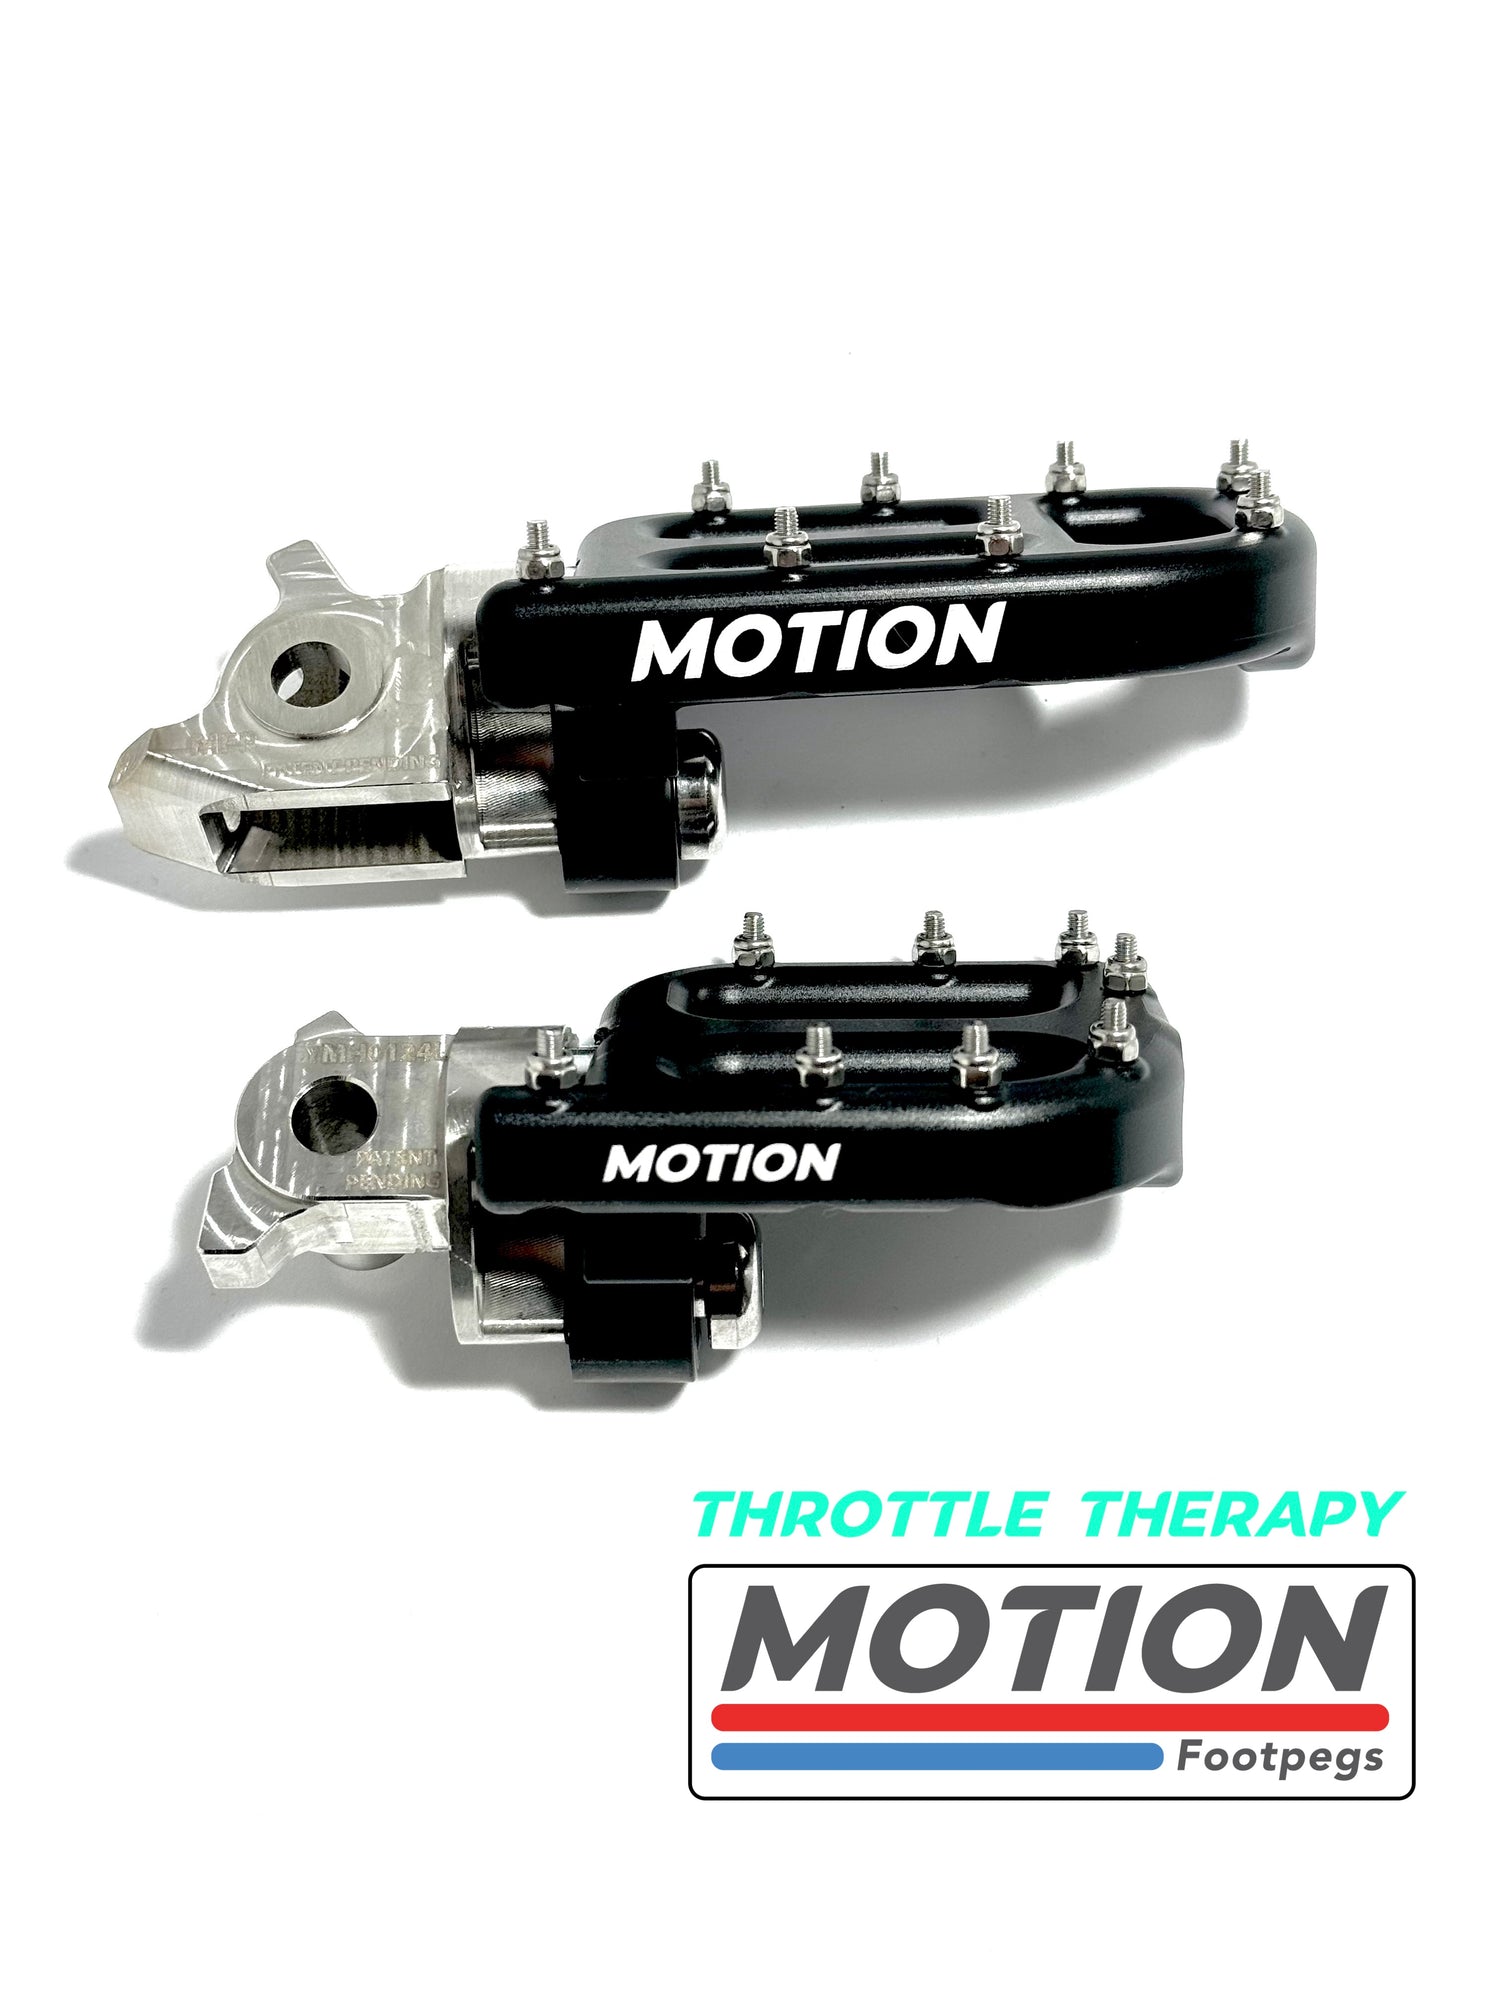
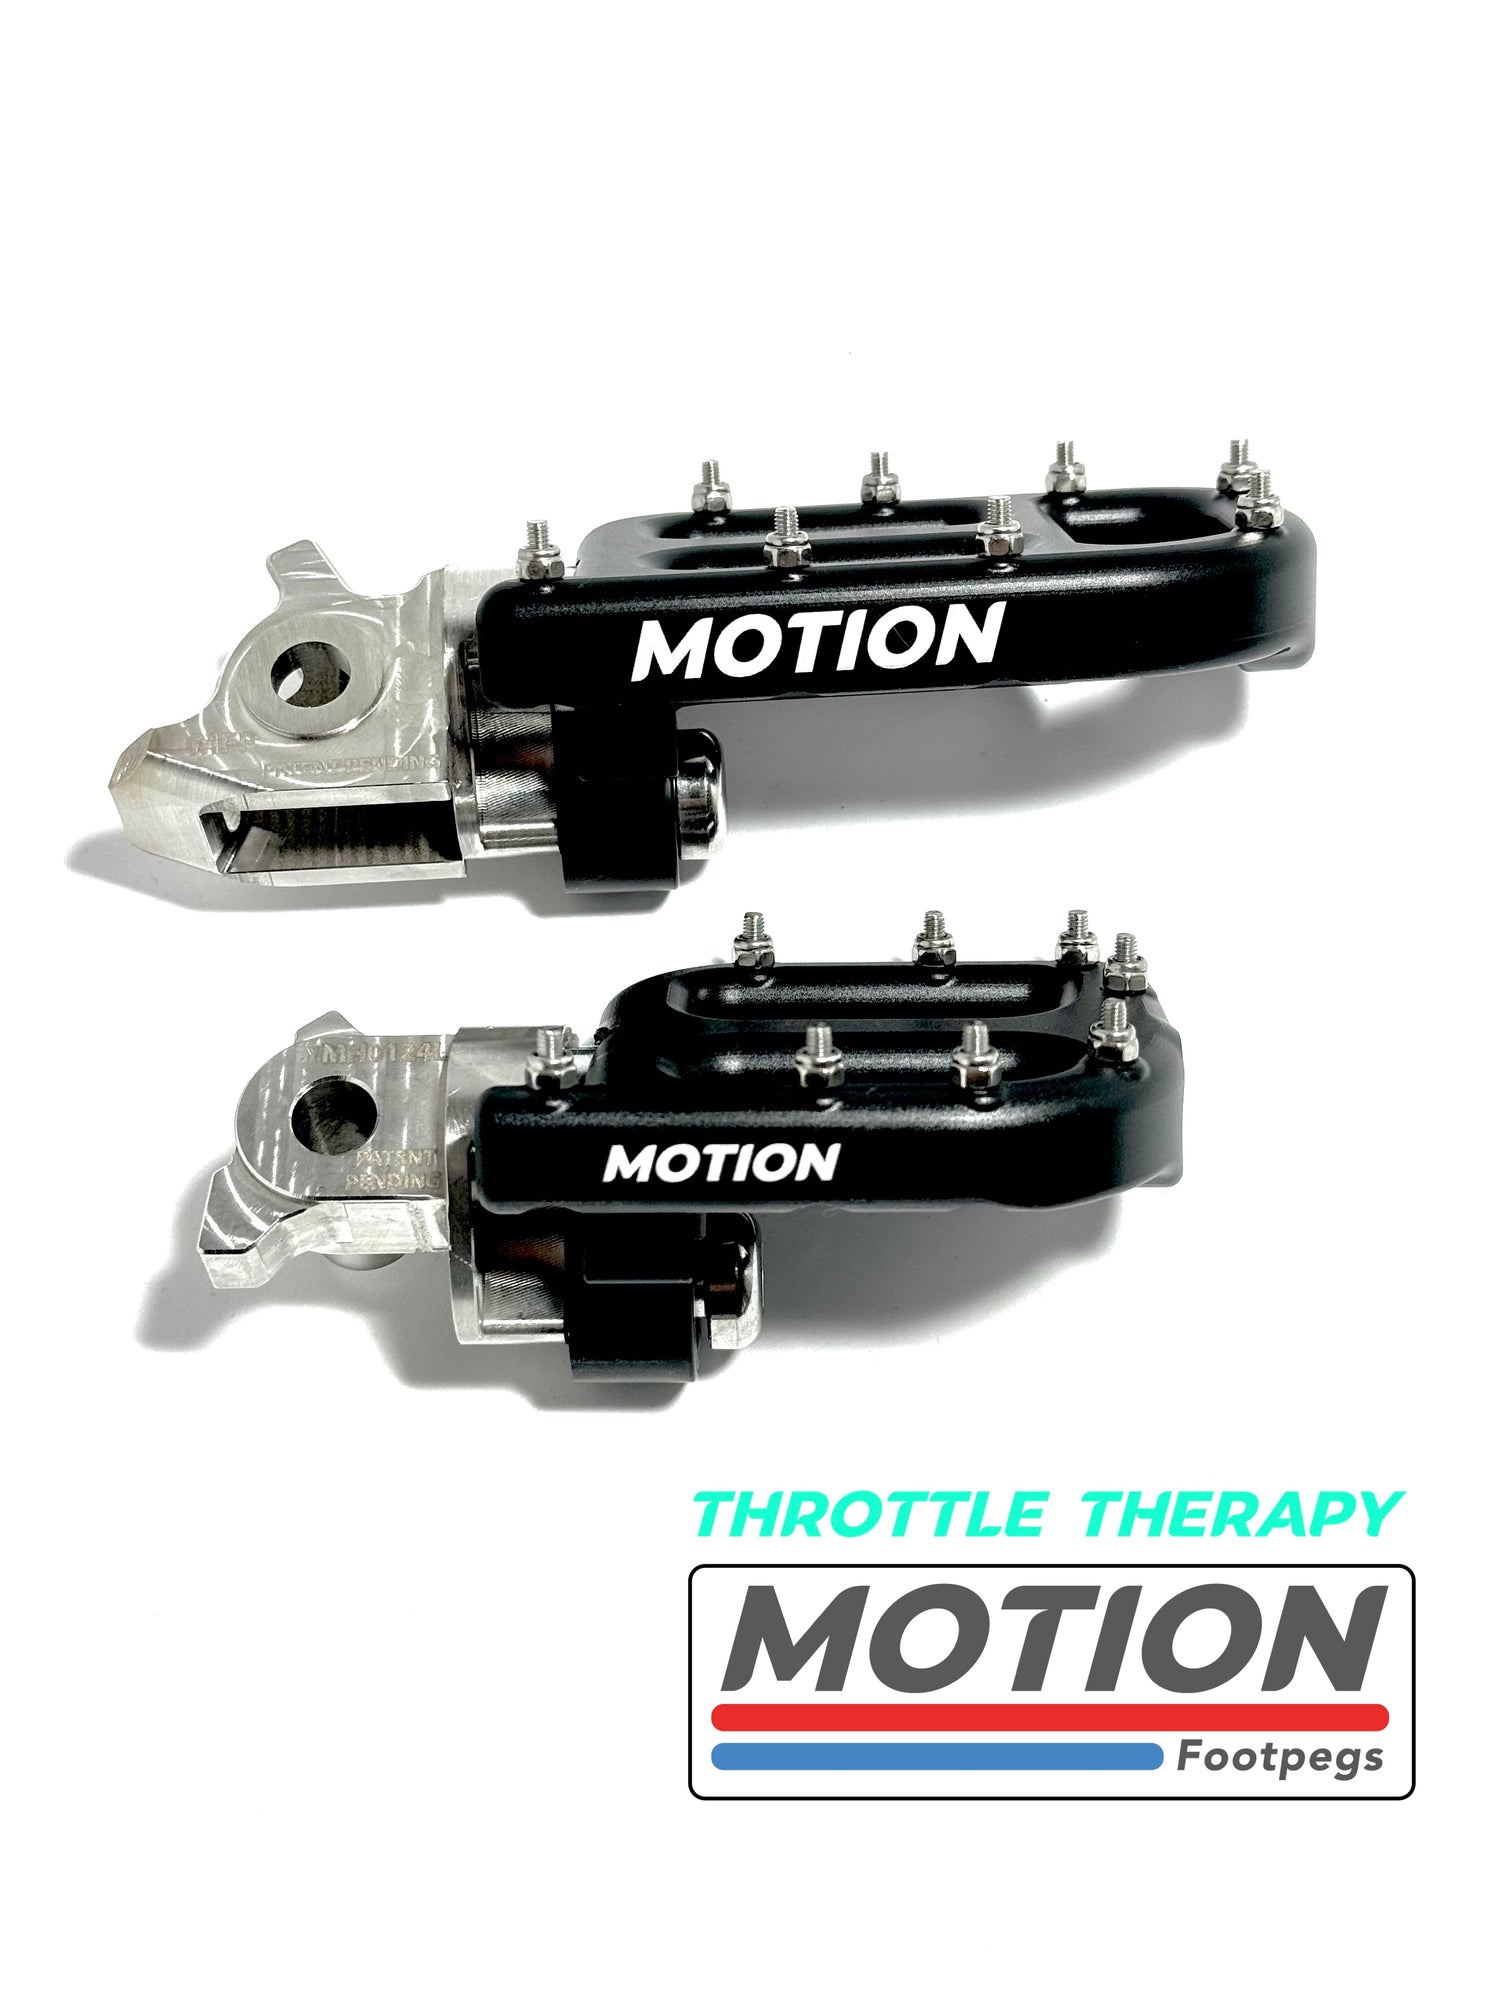
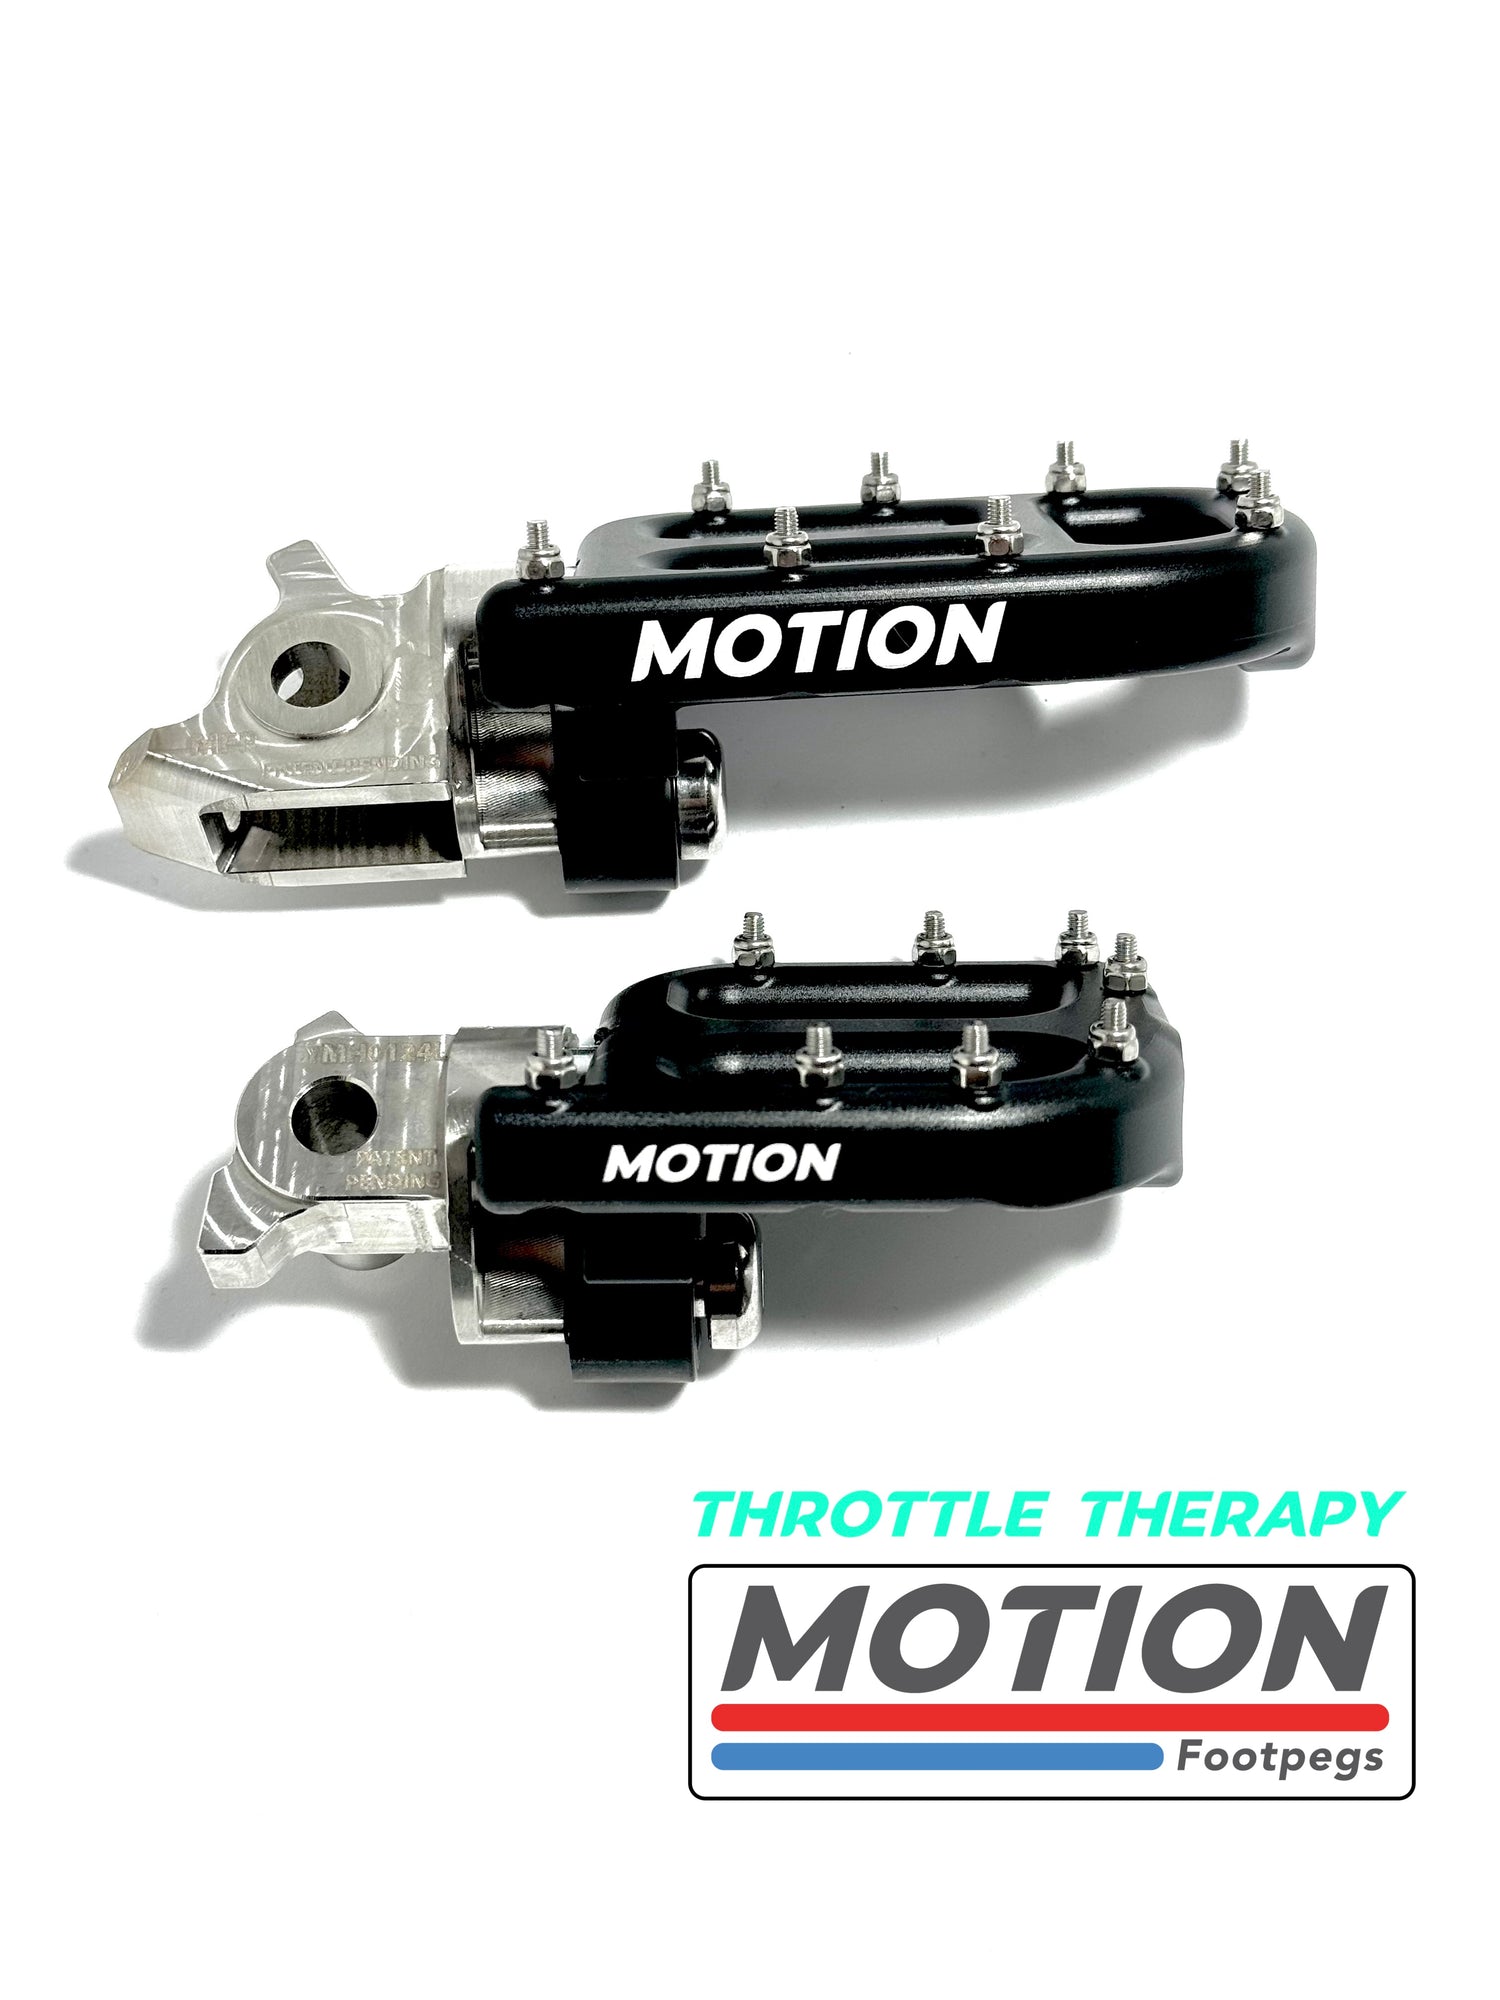
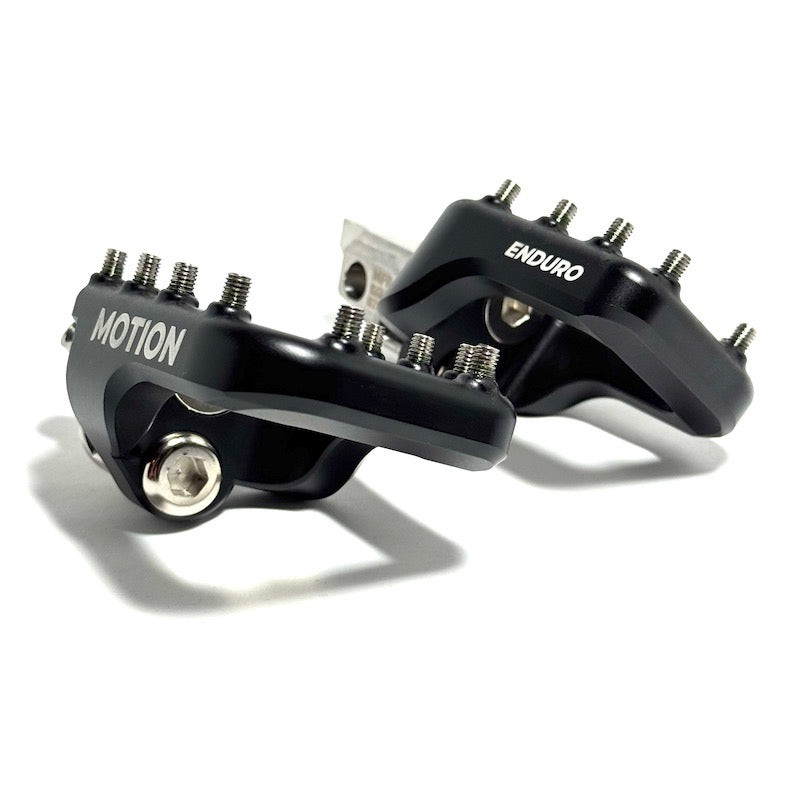
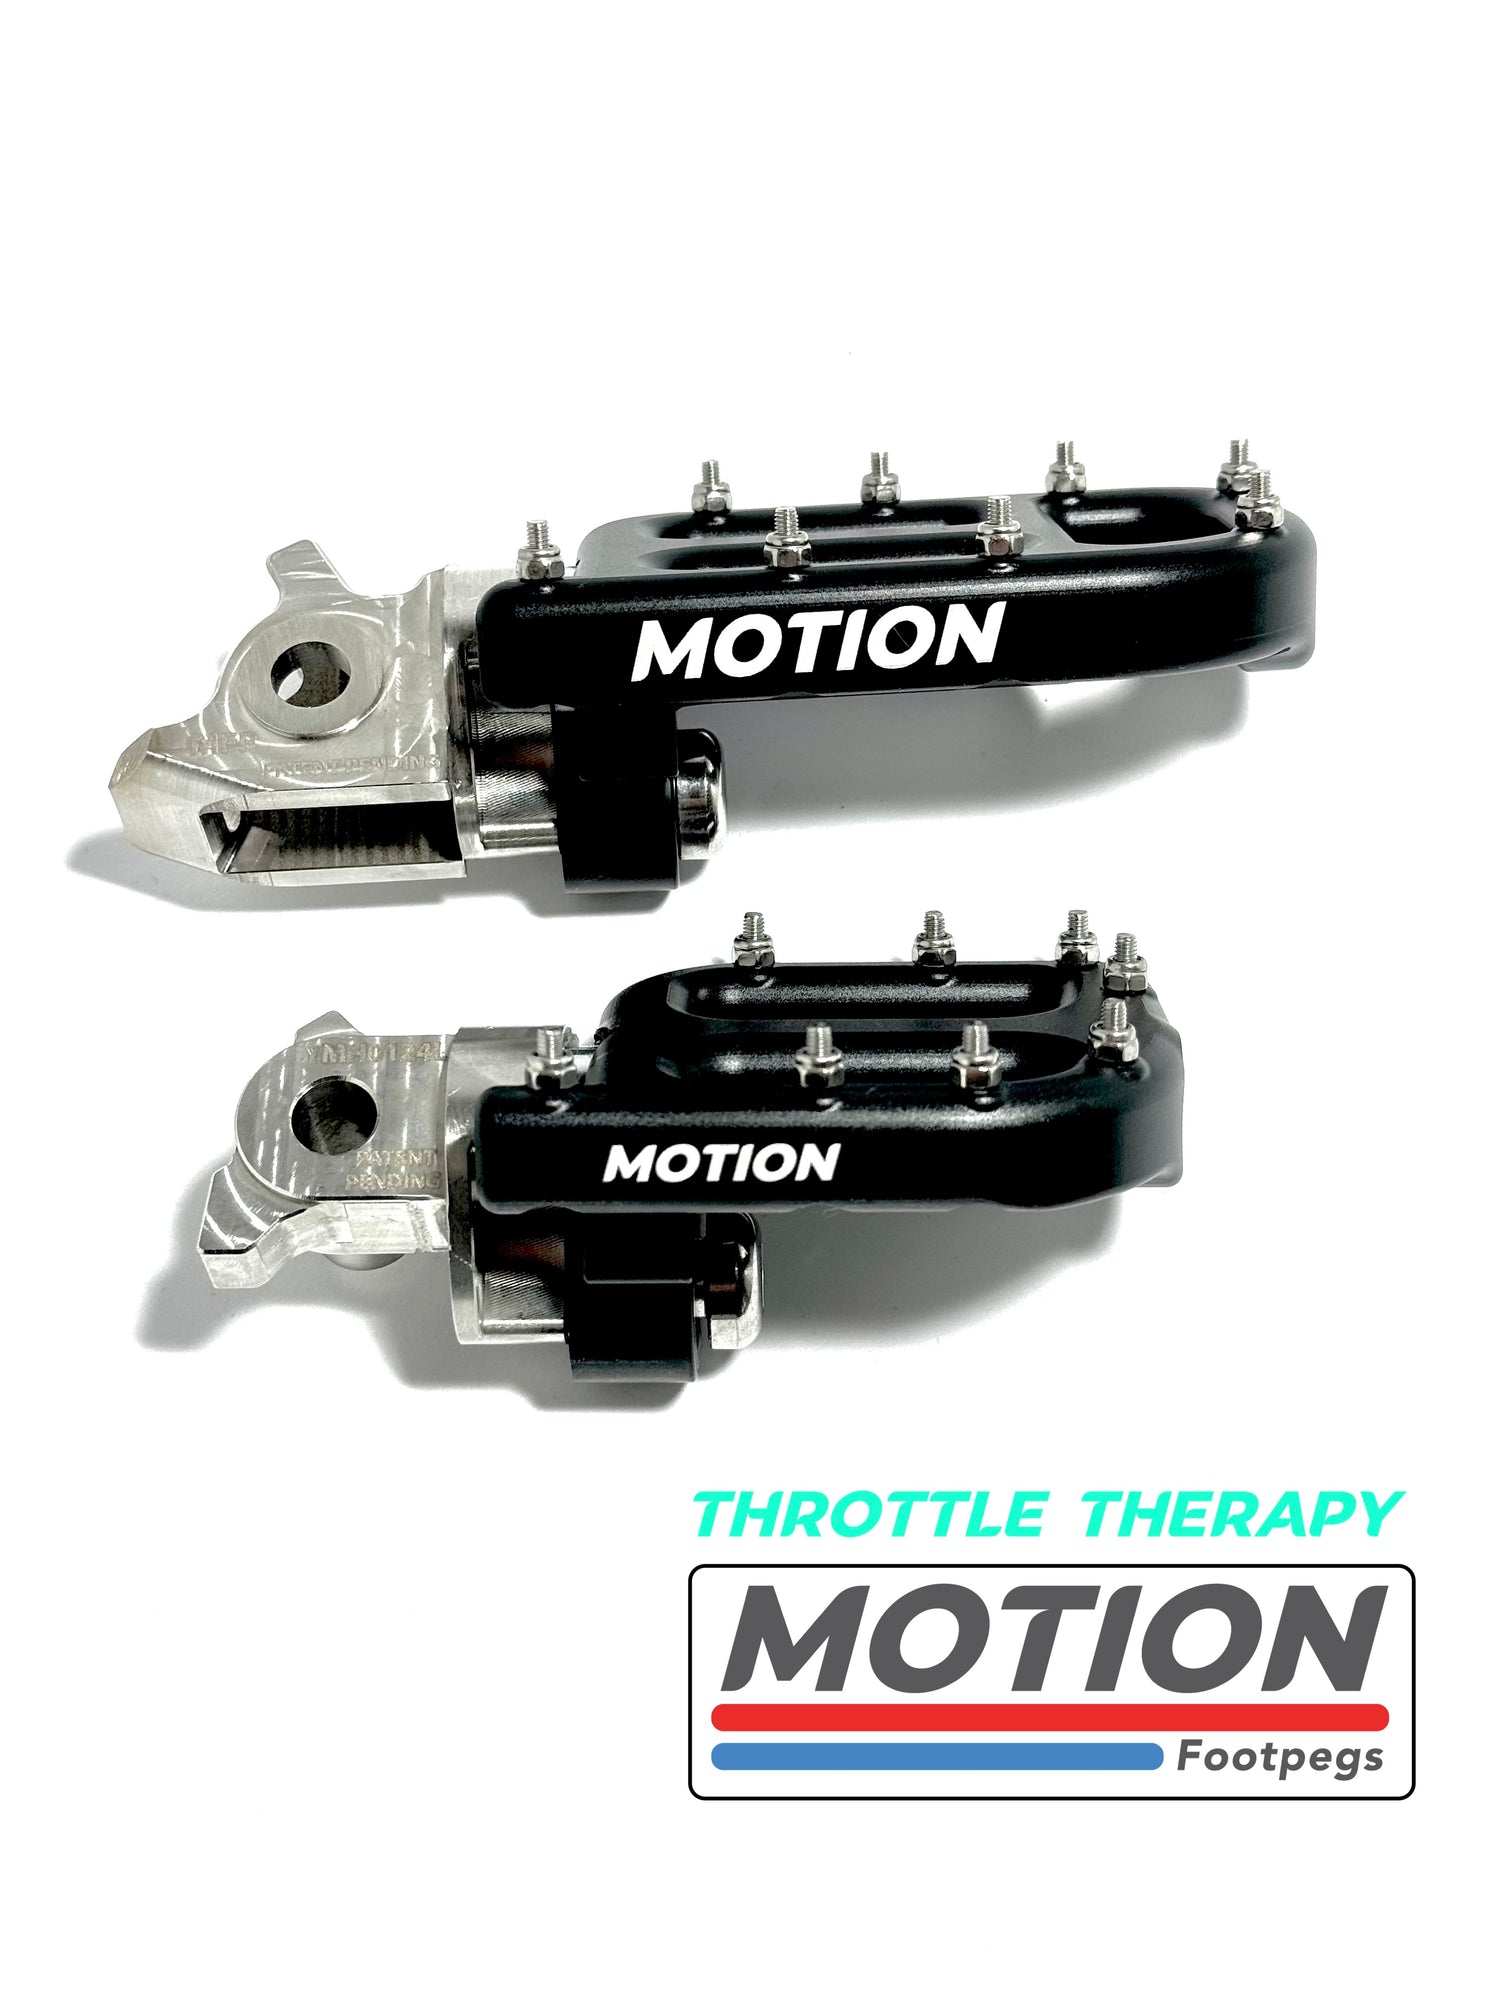
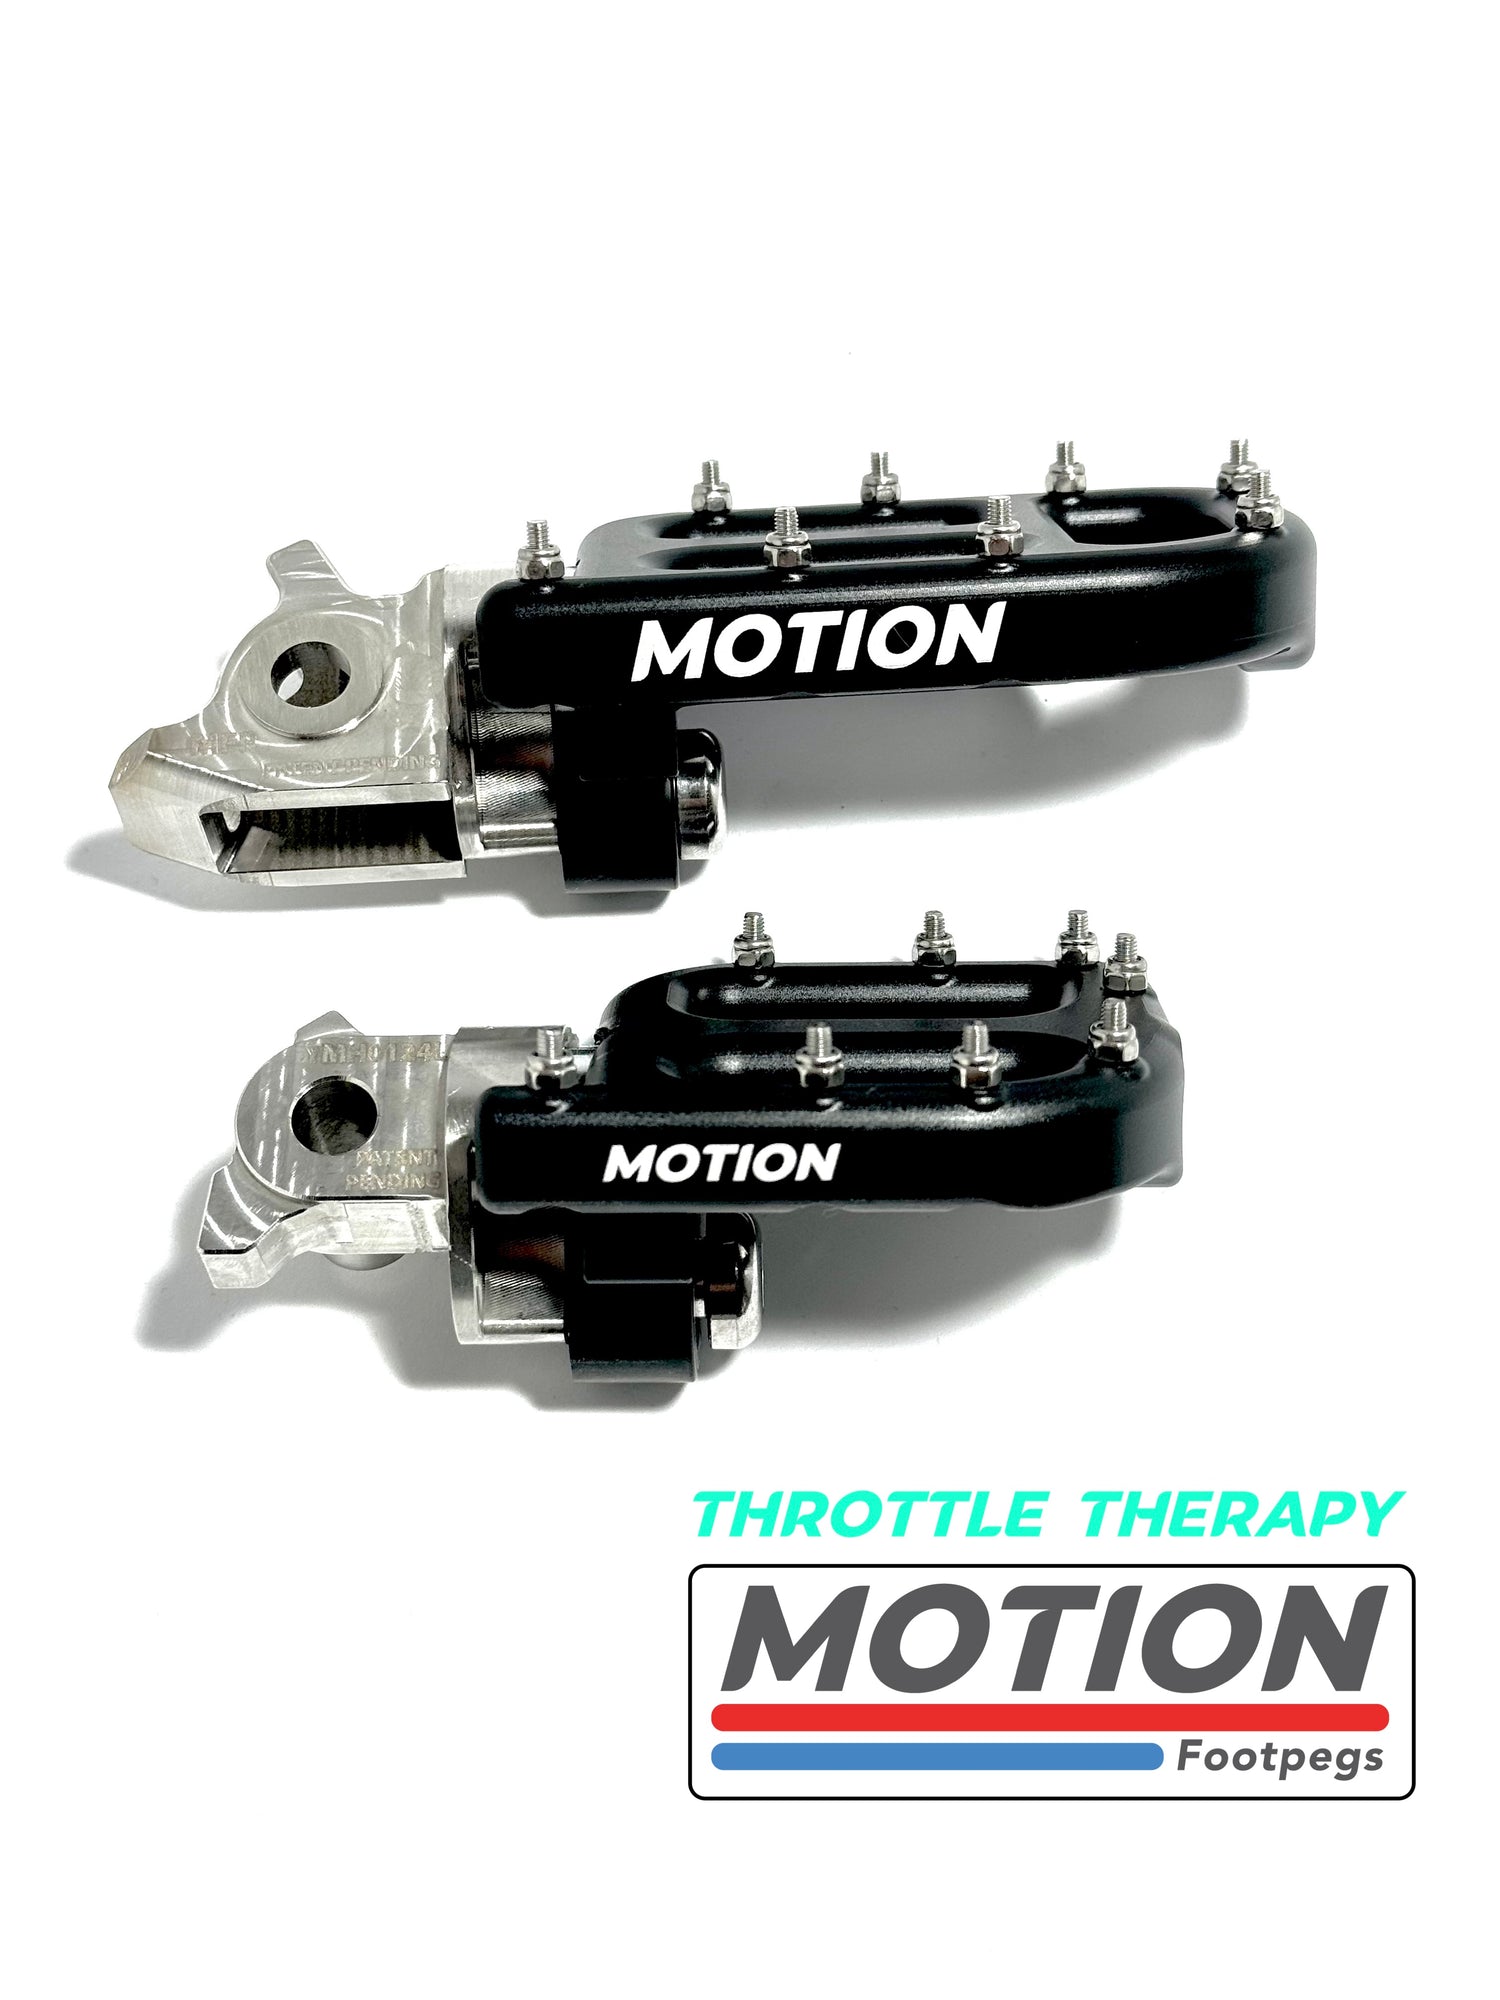
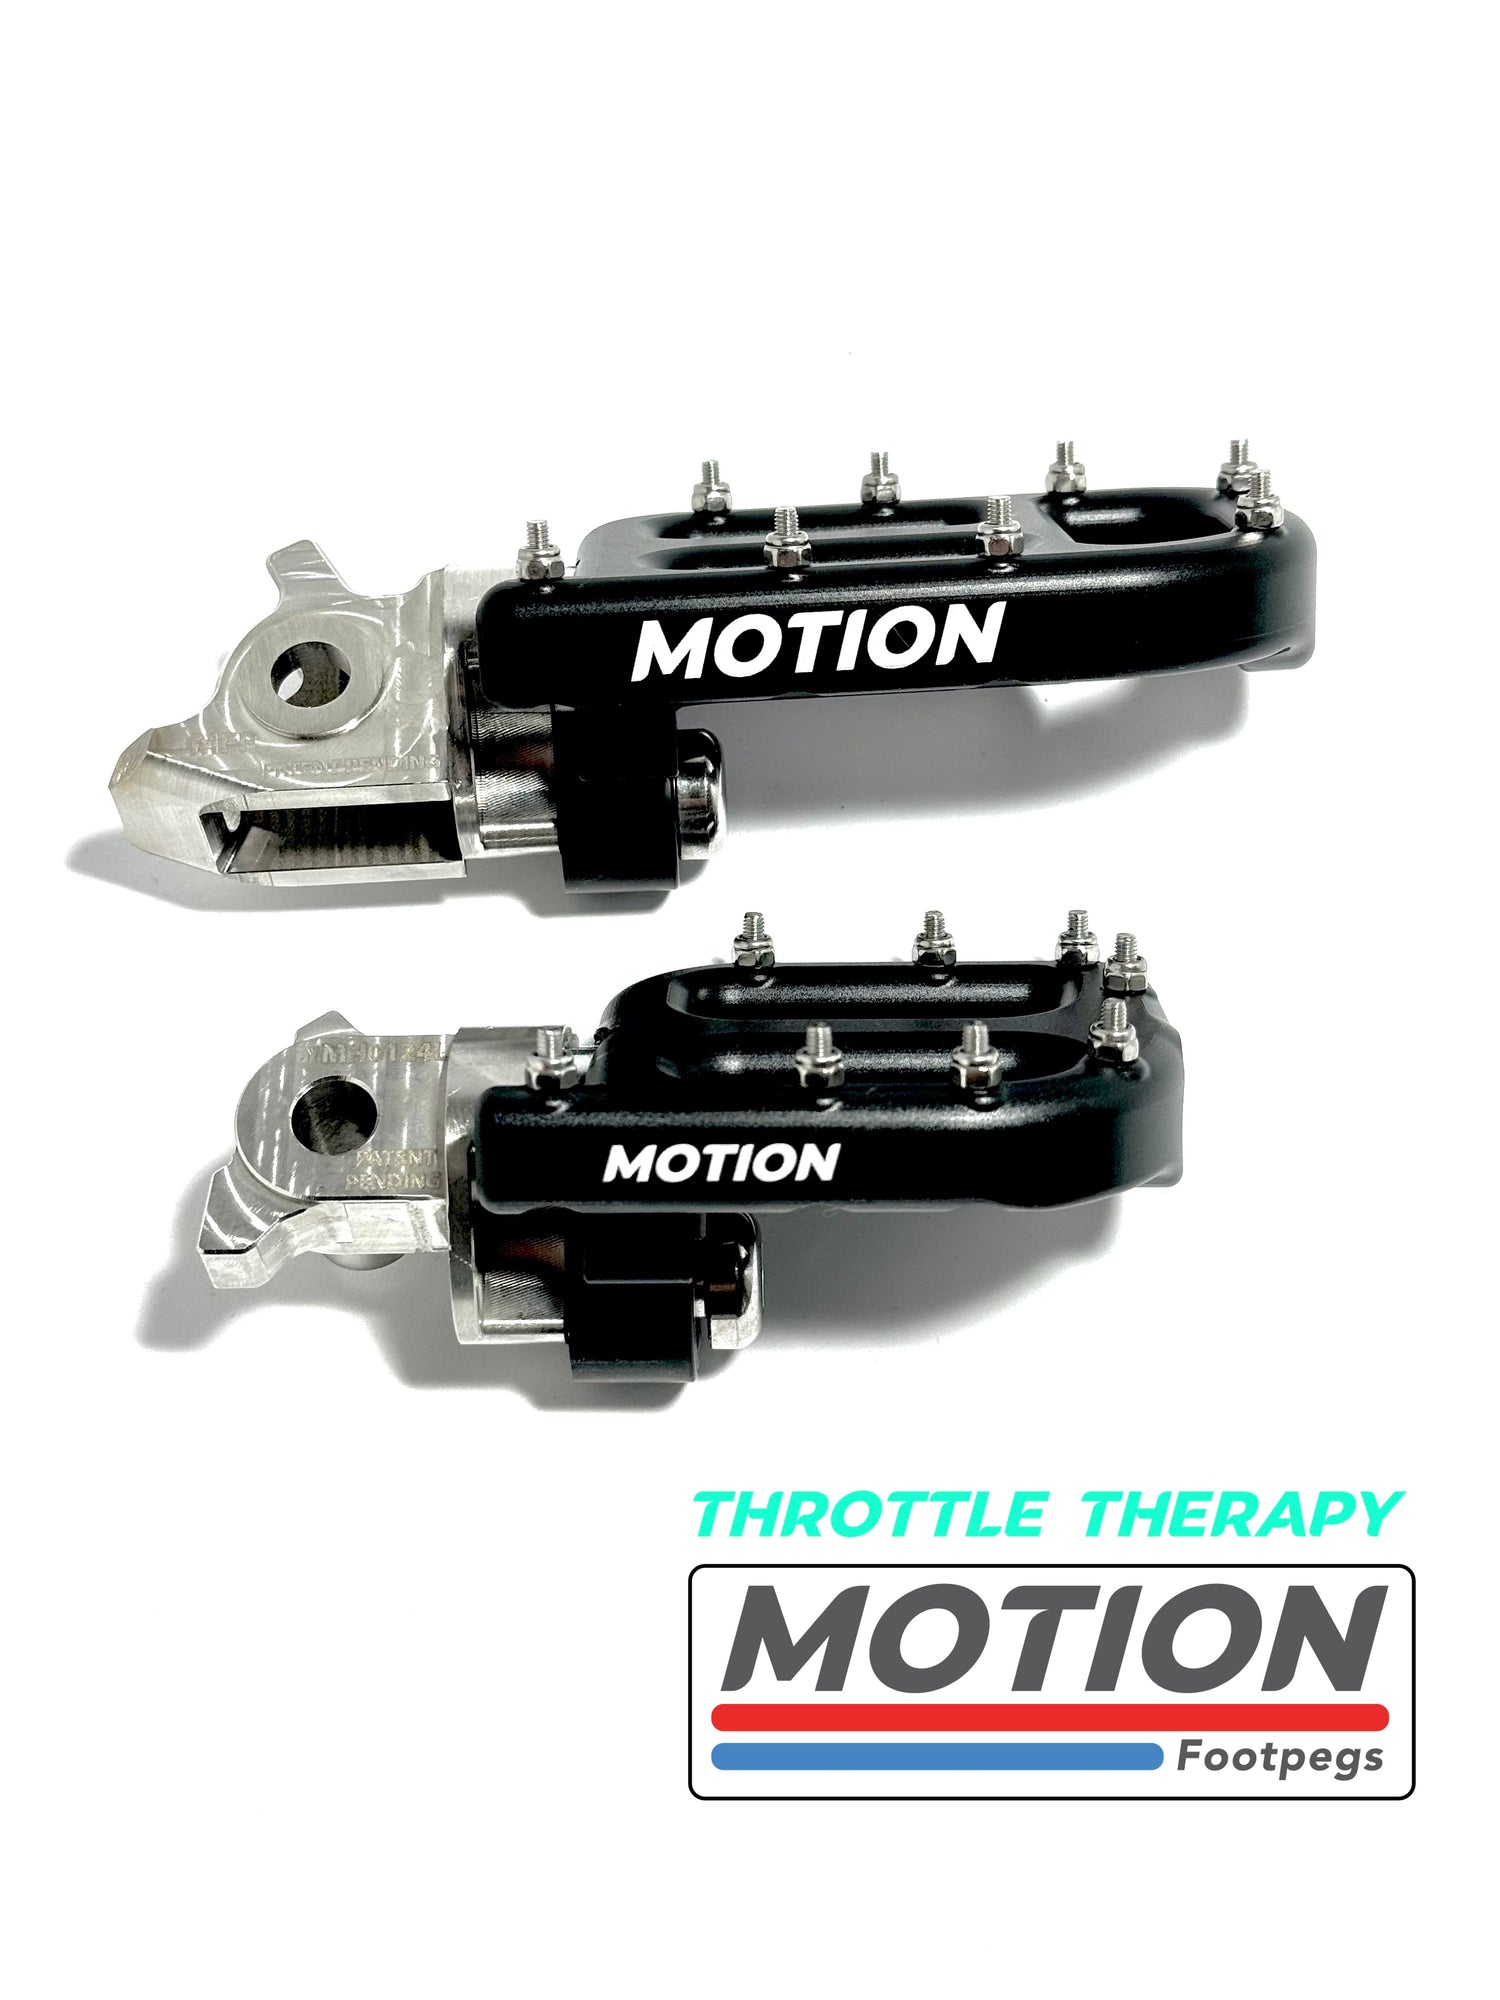
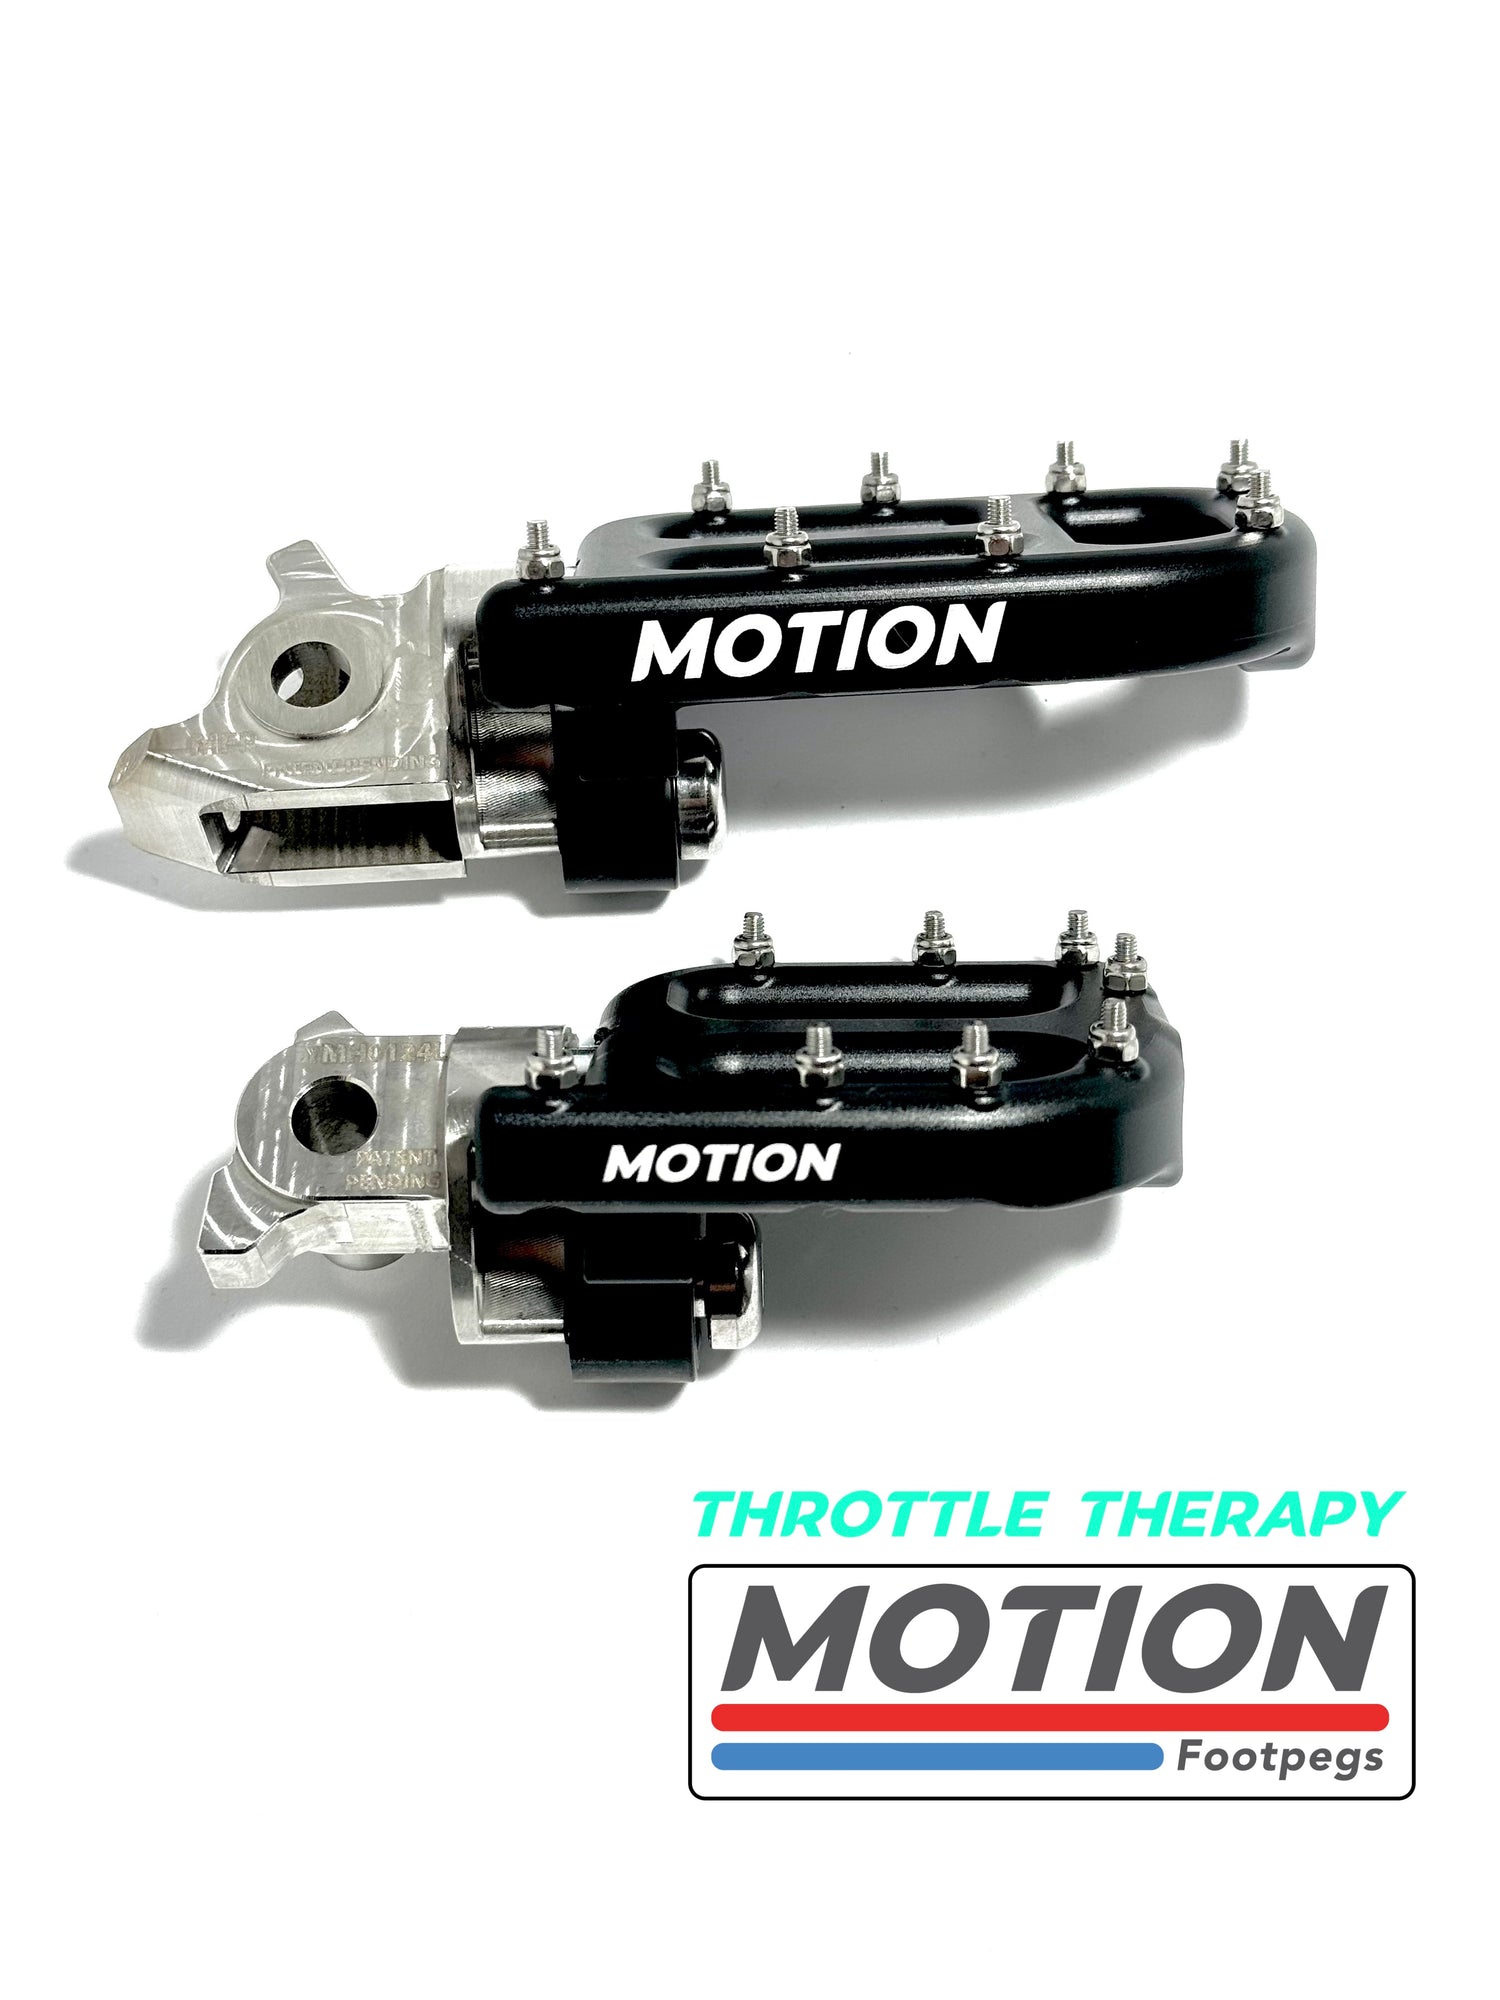
Complete Flex-Mount Footpeg Sets Models and Fitment.
All Flex-mount footpeg systems have stainless steel mounts that come with a...
-
Harley Davidson
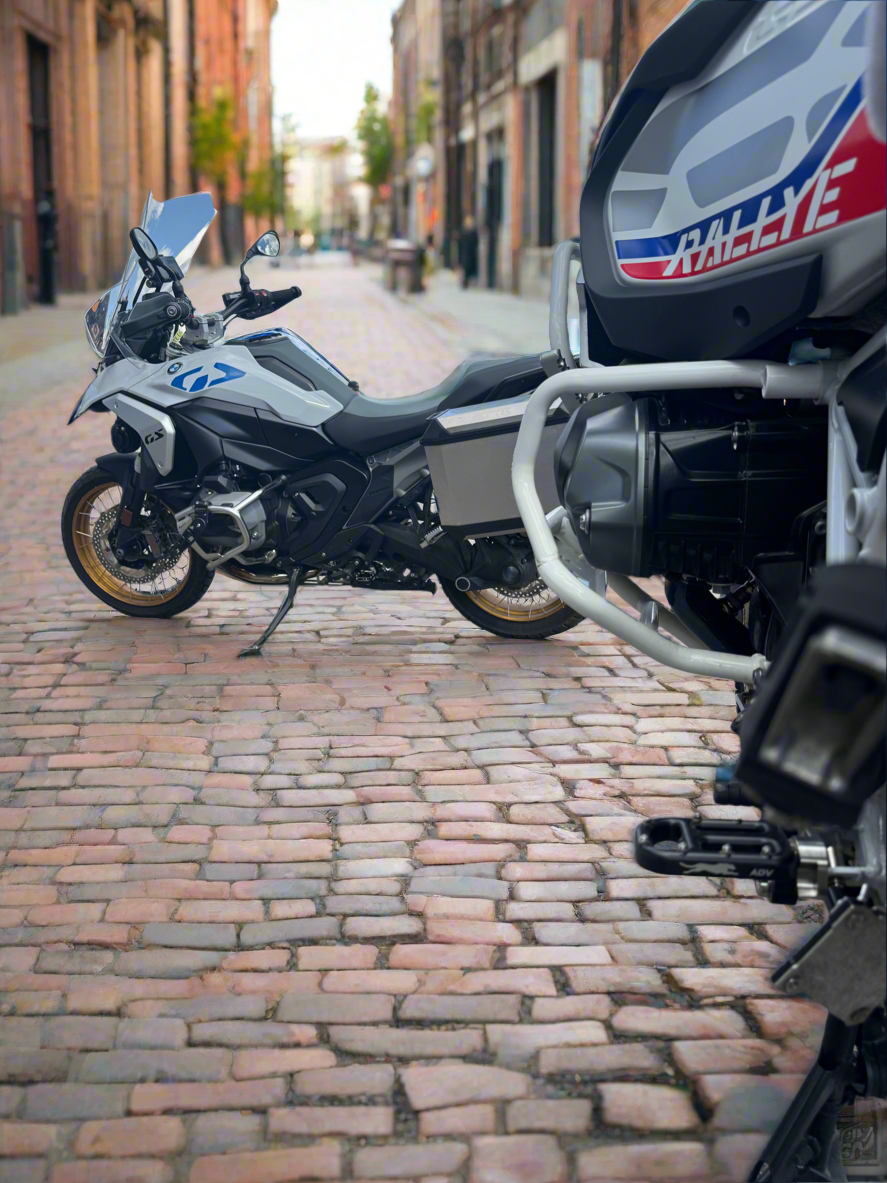
Harley Davidson Pan America Adventure bike.
-
KGF and KGFD
KGF and KGFD model
-
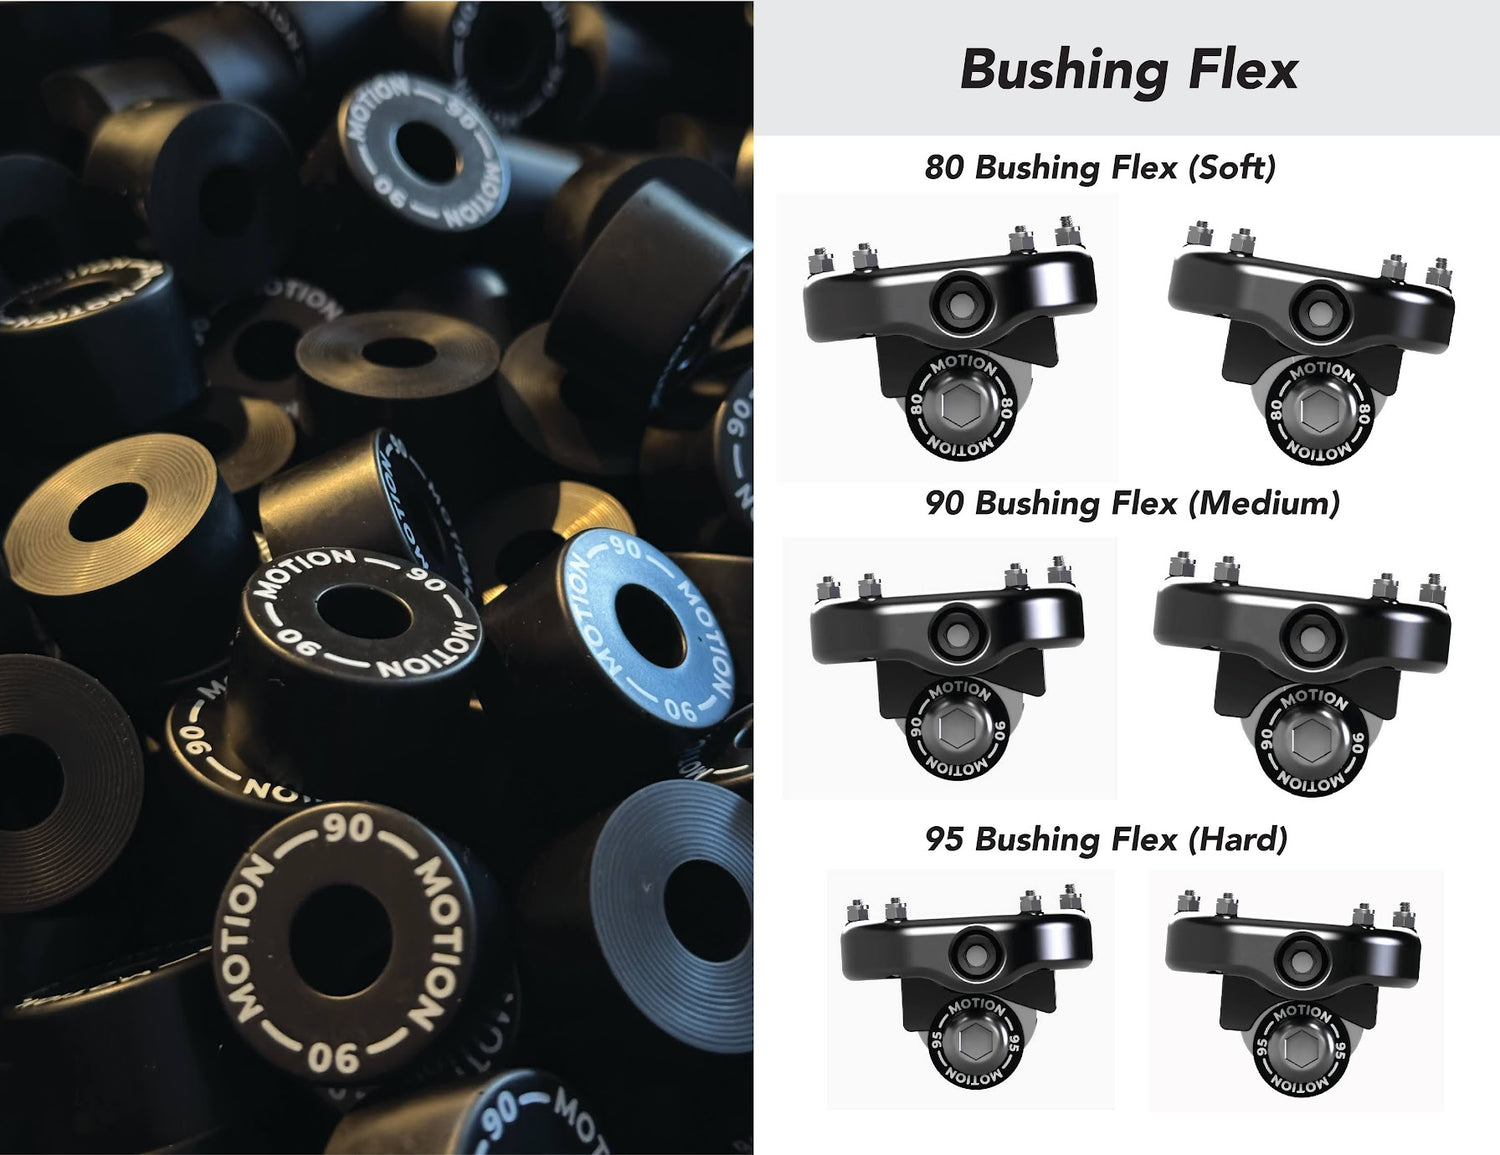
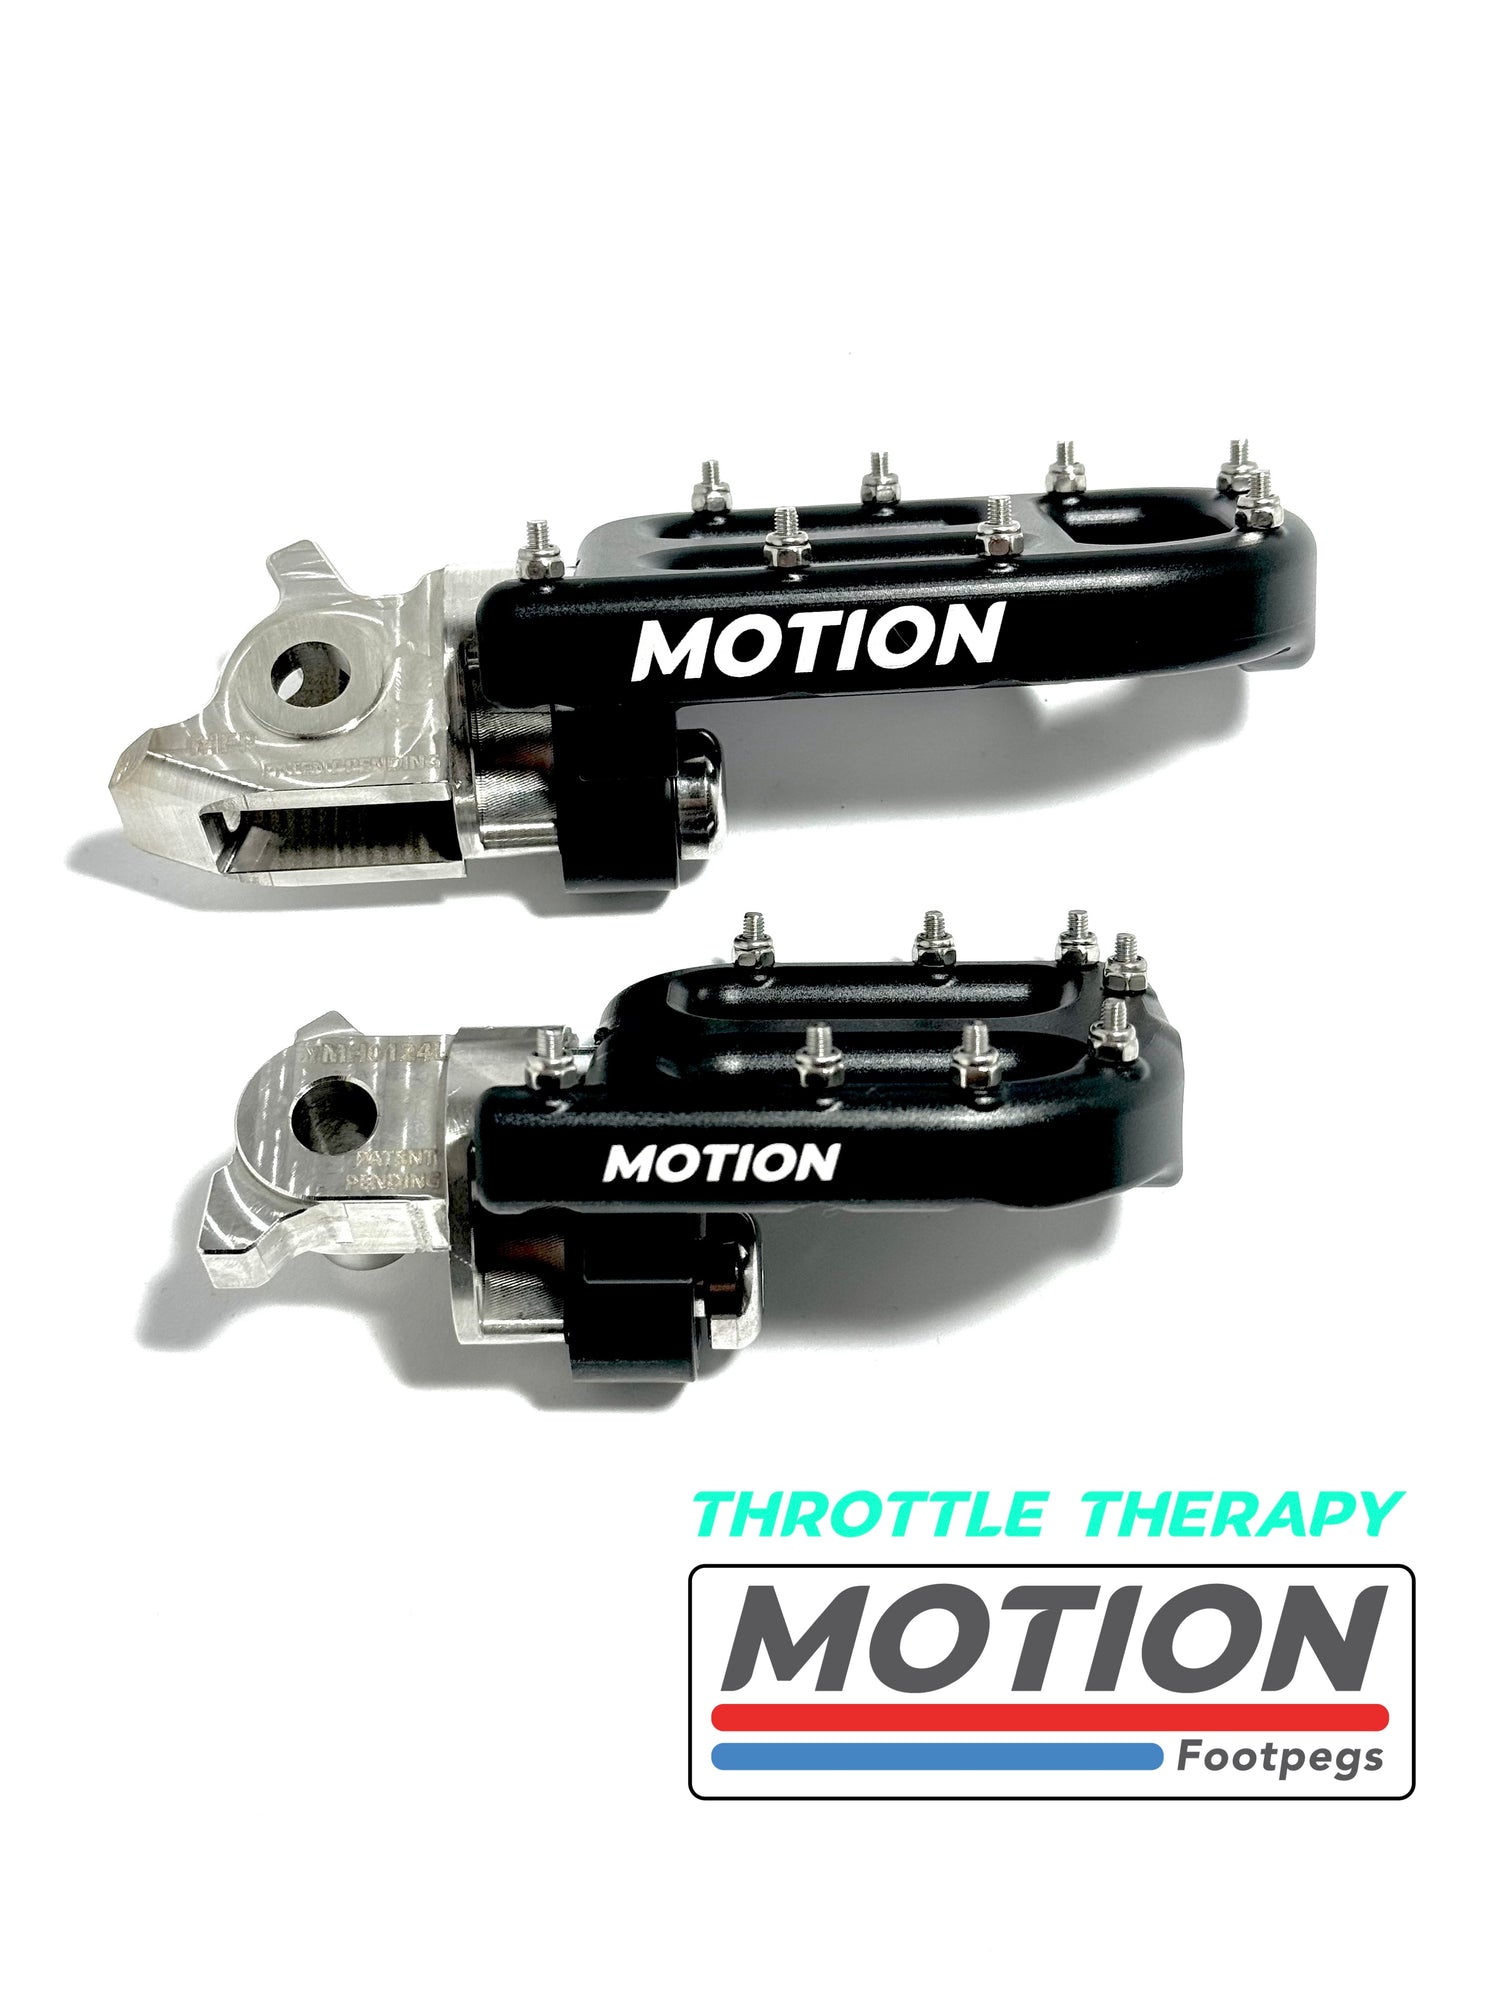
Replacement Platforms and Parts
We have 3 footpeg platform sizes to choose from with our UHMW...
Installation Instructions:
Tools needed: 6mm Allen key. 8mm socket with a 1/4'' ratchet. 14mm wrench.
These instructions are for a complete build-up of the flex-mount footpeg system. Please ignore Steps 3-8 if Pre assembled.
Step 1: Remove the OEM footpeg and keep all mounting hardware. The pins, springs, washers, and cotter pins.
Step 2: Install the MFR mount with the hardware you just removed.
Step 3: Install the spindle with a 14mm wrench and torque to 30 ft/lbs.
Step 4: Install the bushing bolt with 2 bushings on each side with a 6mm Allen key and torque to 25 ft/lbs.
Step 5: Take the platform with the 2 bearings and dust cap installed and slide it onto the spindle. Make sure you remove the 8mm nut before doing this step. Slide until it bottoms out on the spindle.
Step 6: Remove the dust cap from the end of the platform with a 6mm Allen key. Take the 8mm nut and thread it on the end of the spindles loosely with your finger.
Step 7: With an 8mm socket on a 1/4'' drive screw in the nut in a clockwise direction. *WARNING DO NOT OVER-TIGHTEN*. Once you feel the nut bottom out stop tightening and visually inspect the nut. It will be hand-tight no more than 3 ft/lbs of torque. Make sure that all the threads are engaged and the nut sits flush with the end of the spindle.
Step 8: Install the dust cap with a 6mm Allen key. Tighten clockwise and once to feel it bottom out stop tightening. This will also be a hand-tight connection.

